I was introduced to the idea of teaching myself 3D modelling when I stumbled upon a video on YouTube called What’s Inside of the White House?, the name of the software used to create the video mentioned in the description. The thought never occurred to me before, but due to the COVID restrictions I had a lot of time on my hands, so I decided to spend the time and try something completely new. Blender 3D is not only open-source and free, it also has a very active community and currently over 3 million users – and there are countless tutorials on YouTube, which is always a huge plus when you’re trying to get yourself comfortable with a whole new area of expertise.
After completing some of these tutorials, most notably Andrew Price’s Beginner Tutorial series which I highly recommend, I managed to memorise the most important shortcuts and gain a basic understanding on how to create my first 3D structures.
Shoe
For my very first self-initiated project I didn’t just want to use any object of which there are countless 3D models online already though, so the choice fell on one of my more unique possessions – a shoe once owned by Carrie Fisher, which I purchased at an auction in 2018. In order to make the shapes look just like the real object I took pictures of several views (front, top, side, etc.) which I then imported into the 3D viewport as reference images. I started by adding basic shapes like rectangles and cylinders in the right places and adjusting their proportions to match the shoe’s size. From there on it’s mainly extruding or loop-cutting faces, adjusting vertices and applying some handy modifiers here and there.


Although I’m quite pleased how the model itself turned out, I was having a hard time making it look truly realistic. At first I thought adding particles onto the surface trying to simulate tiny fabric fibres would be a solution – that didn’t turn out convincing though and significantly increased the render time as well. I decided to conclude by creating a simple 360° rotating animation and move on, having already a fresh idea in mind that would be well-suited to further improve what I’ve learned on a bigger scale.
Room
Having seen some impressive isometric room models on the r/Blender subreddit, I wanted to do something similar. Using a laser rangefinder I measured most of my furniture and re-created an entire room, so it looks exactly to scale. Initially I planned on adding textures when I was finished with modelling, but I actually really like the minimalistic look, so I postponed experimenting with a little more colour to a later project.

Adding colour
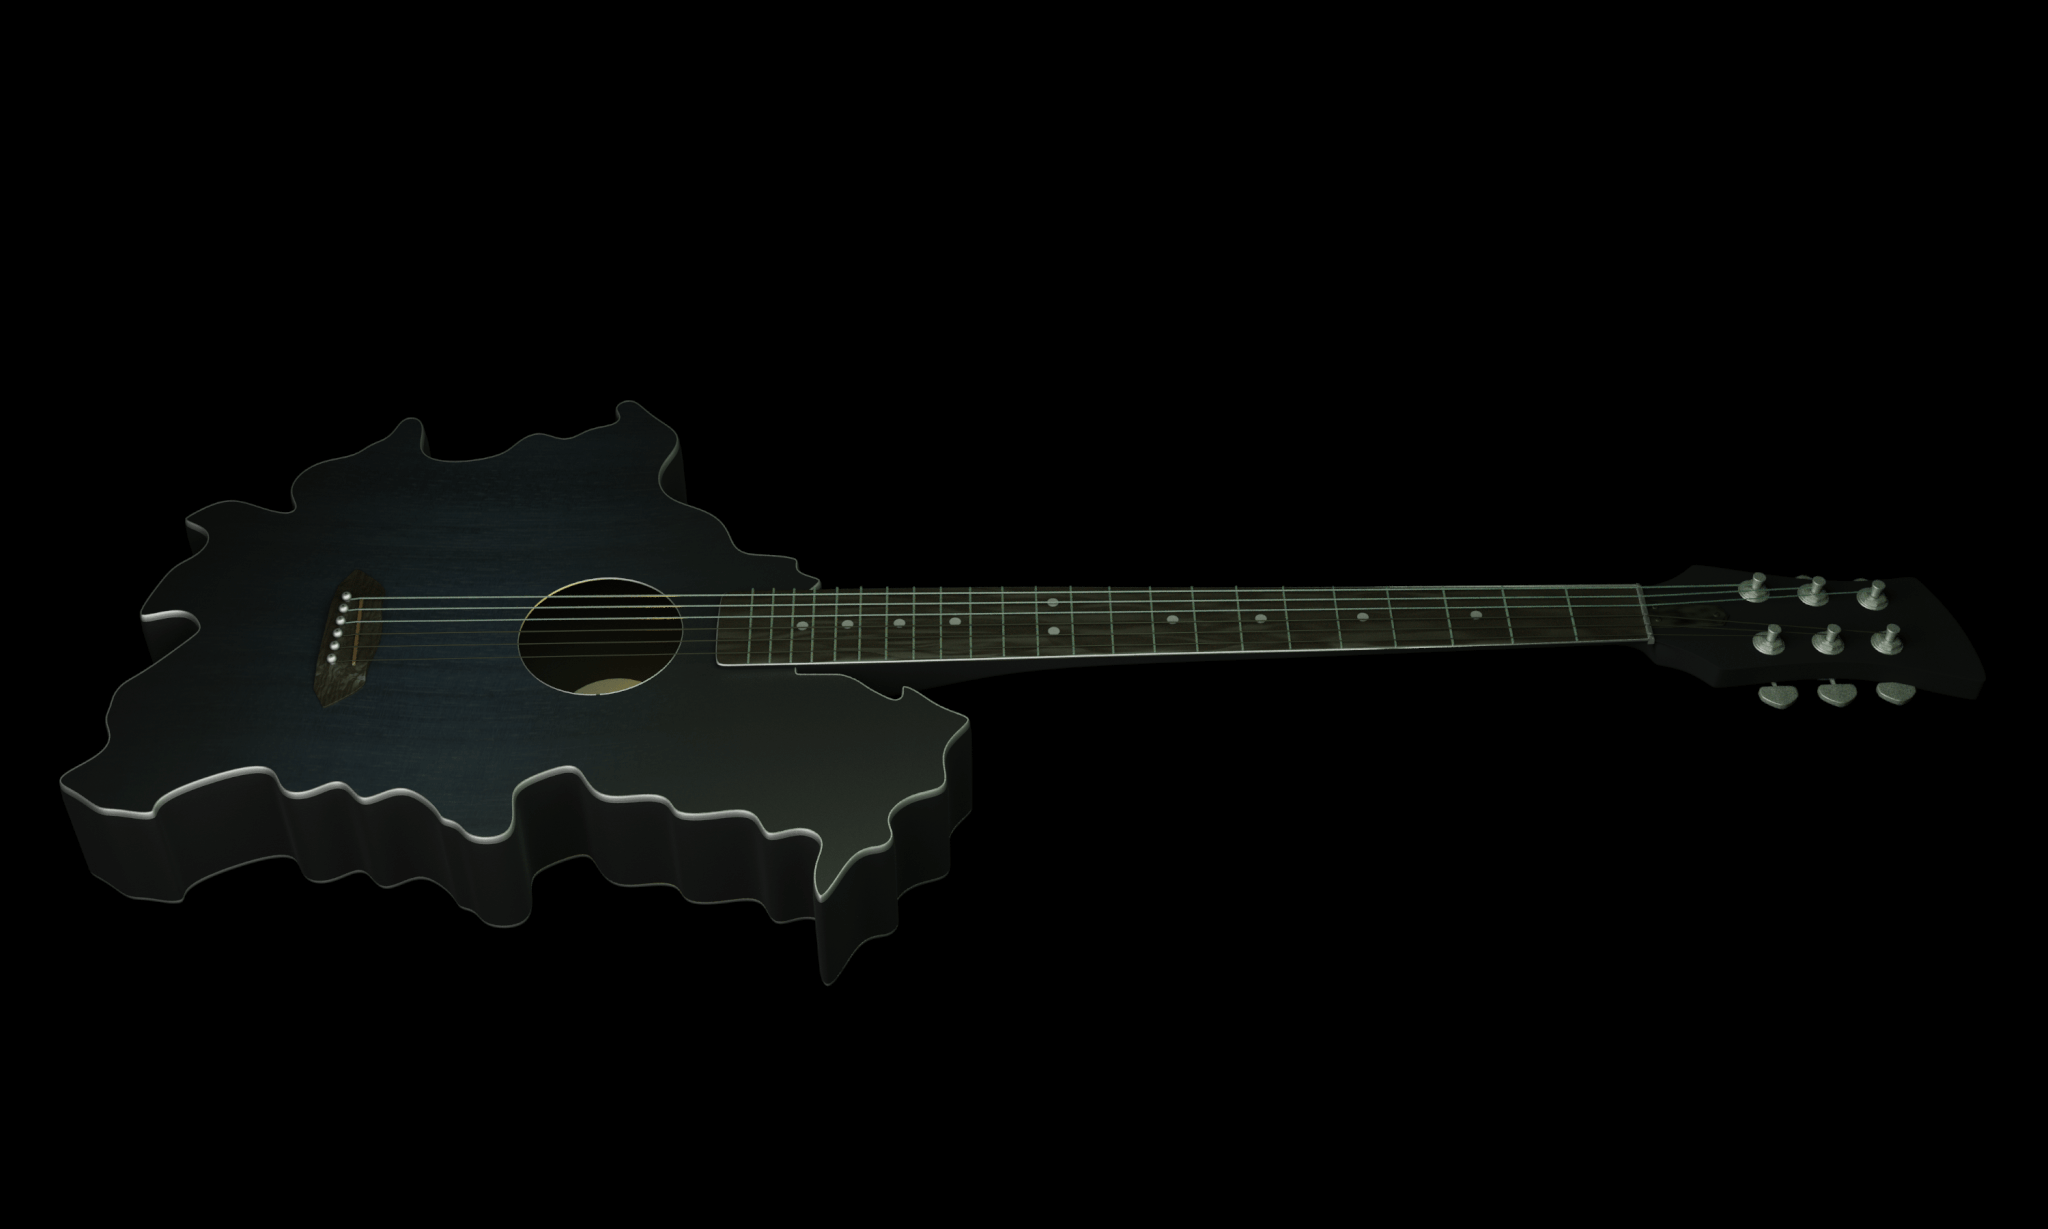
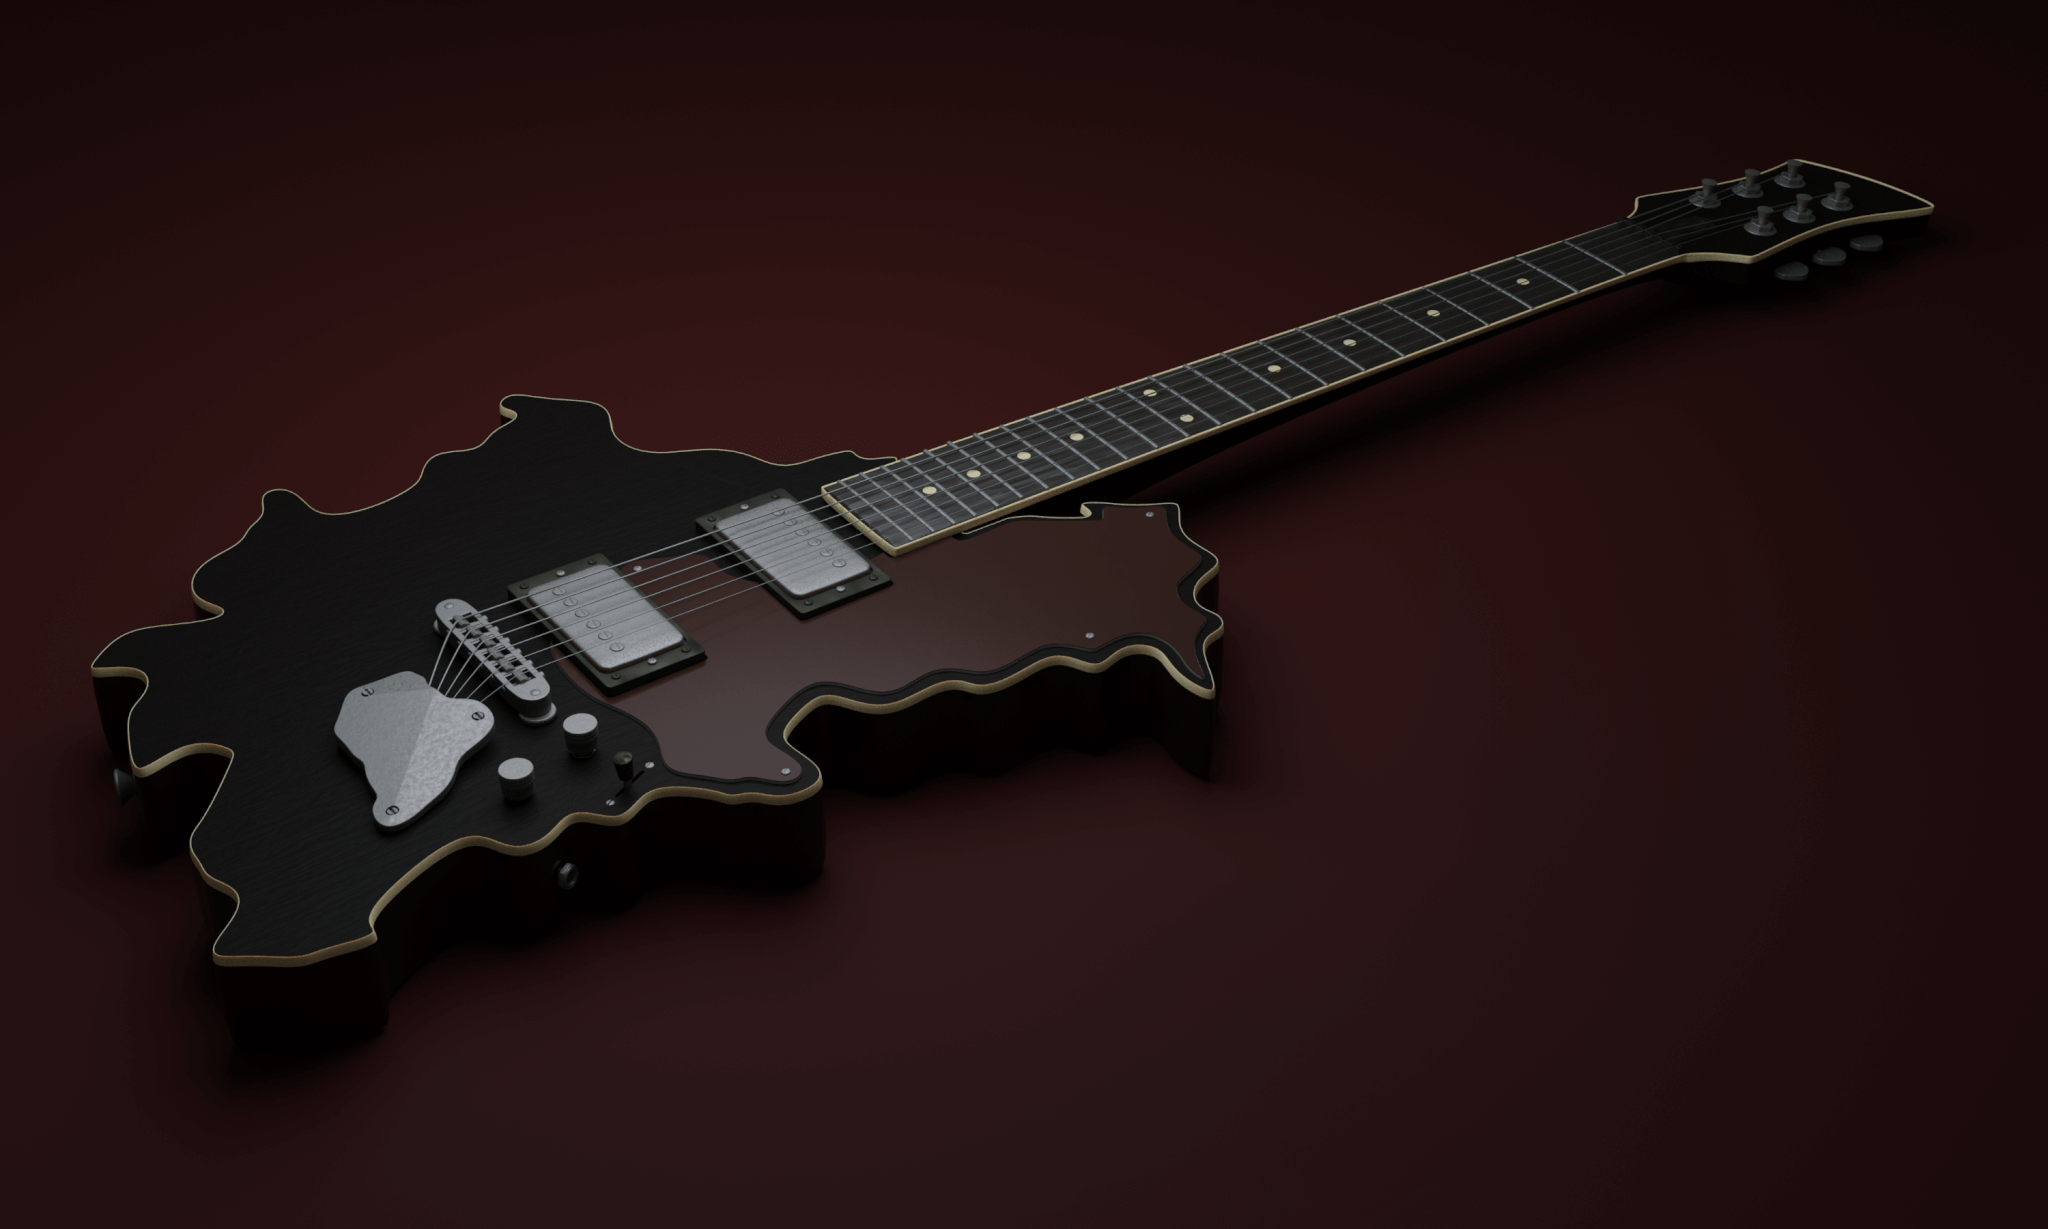
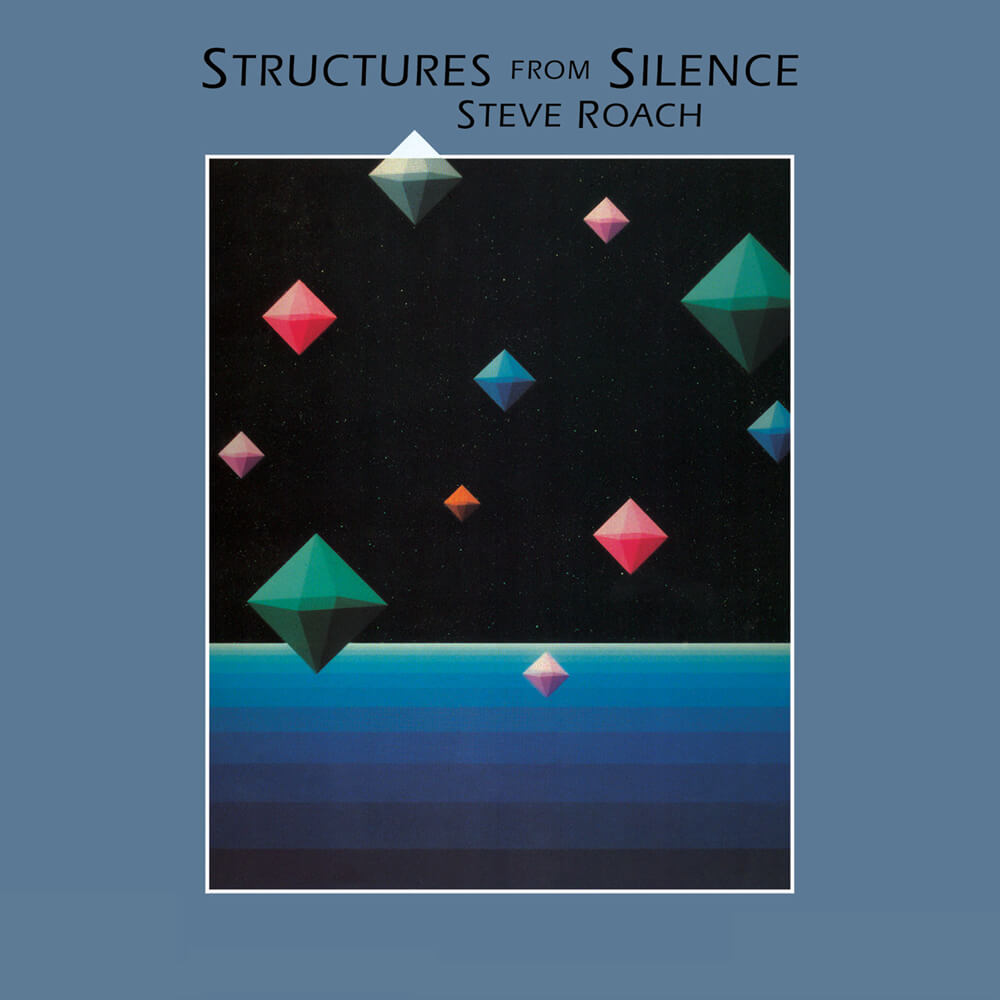
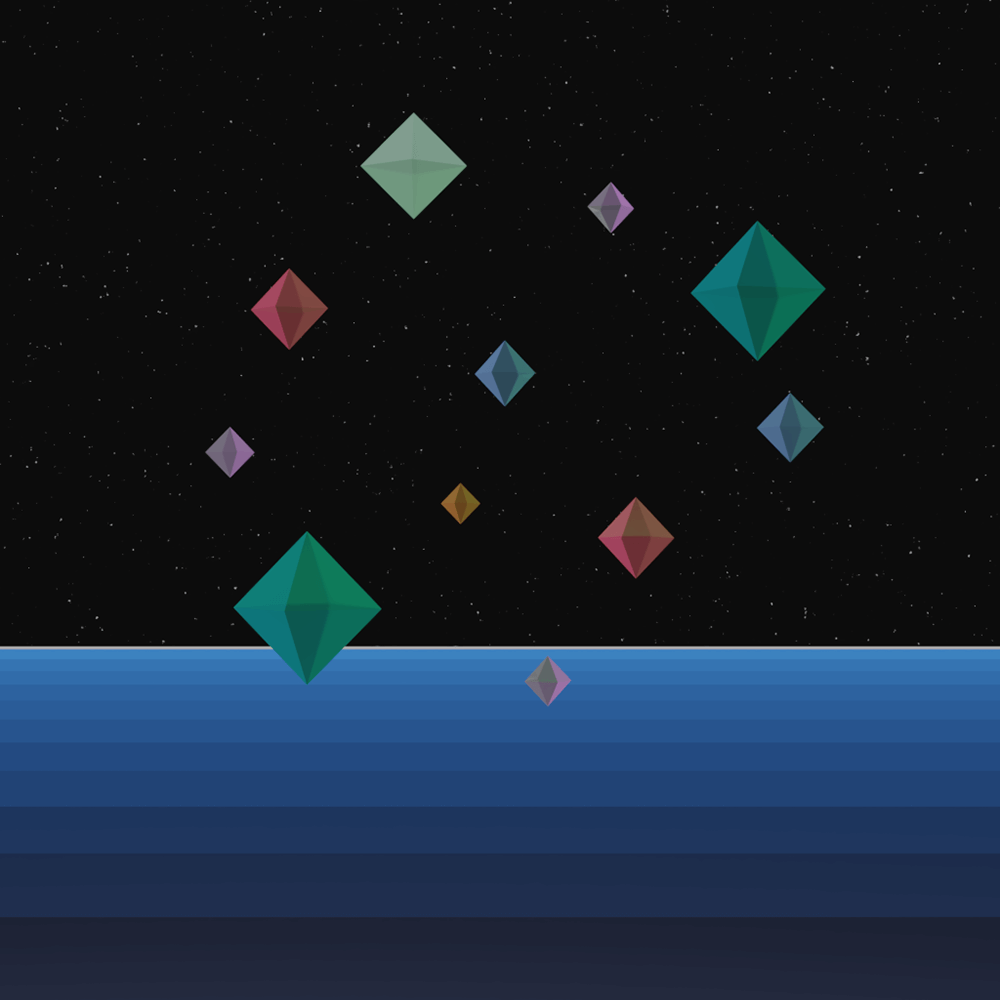
What followed were a few smaller ideas, each of which kept me busy for a few hours. For the re-creation of my room I already rebuilt the actual guitar I own, but during the process I got the idea for a Berlin-shaped guitar. After that I re-created the covers of two favourite albums of mine in 3D.


After the stage recording of Hamilton was released on Disney+ in July 2020, like many people I, too, became quite obsessed with the history of the American founding fathers. And so I knew what my next project would be when I saw pictures of the duelling pistols they used to shoot each other. Since it was especially the texturing my previous projects were lacking, I spent a lot of time browsing sites like cc0textures, cgbookcase and texturehaven this time, trying out all kinds of wood and metal textures.


Nostromo
Now it was time to start experimenting with a more cinematic scenery. For the modelling of the spaceship Nostromo from one of my favourite films – Ridley Scott’s 1979 Alien – I used official blueprints as reference images and added my own ideas in a couple of places. After I was done modeling the most important parts of the ship, I used the Plating Generator Add-on to extrude randomly sized and distributed faces on selected parts of the surface. I based the scene of my final render on a screen capture from the original film.


Of course there’s always room for improvement, but you can only spend so much time dwelling upon one single endeavor, and as soon as the idea for the following project sparked in the middle of the night, I couldn’t wait to start working on it.
Animated Hamilton
Still captivated by the phenomenon that is Hamilton, I had the idea to recreate a specific scene from one of the songs which is Hurricane, with flying props animated across the stage in a seamless loop. Unfortunately I could only find blueprints of the Richard Rodgers theatre stage where the musical premiered but not of the Hamilton set itself. So I took screenshots watching the musical and modelled all the assets by sense of proportion.
Modelling the basic stage layout took a whole day. Although, there are many elements that can be duplicated or mirrored, arrayed (most notably the wood joists, railings and stairs), which makes the process a whole lot easier. And since I memorised a whole lot of important keyboard shortcuts already, this was mostly repetitive. To get the proportions right was one of the more challenging aspects.
I also wouldn’t have guessed how time-consuming finding the right textures would be. Even though the websites previously mentioned have a quite considerable variety of textures freely available, you still need to import, scale and adjust them to your scene every single time, until the scene starts to look remotely like in the reference images. And rendering 300 frames in a fairly high resolution takes some time (20+ hours), you need to be sure everything is done correctly.
When I finished animating the stage, approximately thirty days of working in Blender had passed and it has easily become one of my favourite graphics softwares to play around with.


